

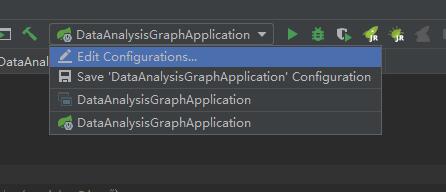
这里整理了几种IntelliJ IDEA配置实现SpringBoot项目热部署的方式,其中使用jrebel应该是最简单的方式,而且没有后遗症:
环境:
- IntelliJ IDEA 2018.3;
- Jrebel 2018.1.7;
方式一
1.安装jrebel
首先安装jrebel插件,在IntelliJ IDEA中setting里找到Plugins,然后搜索JRebel for IntelliJ,进行安装。
2.激活
激活方式详见: IntelliJ IDEA插件jrebel激活(2018最新)
3.配置
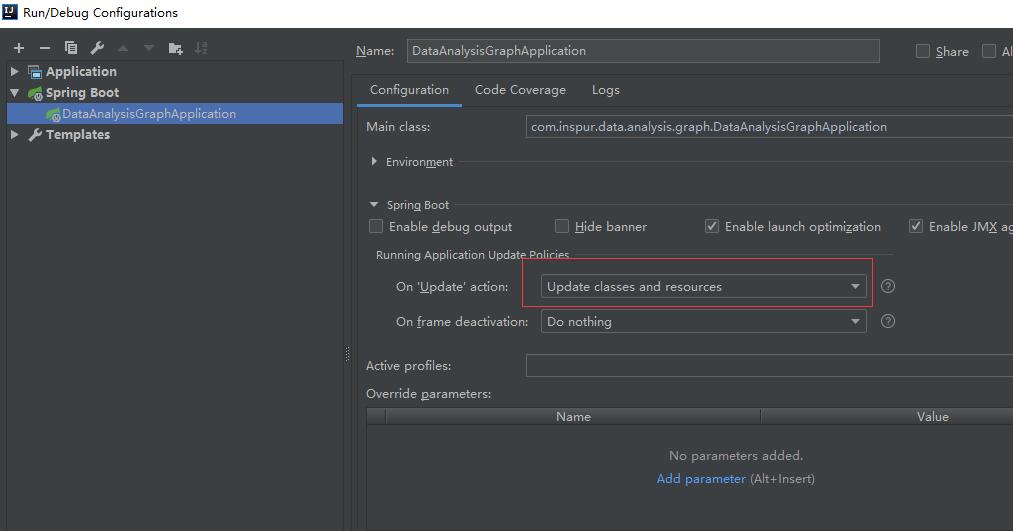
如上图,改为Update classes and resources。
4.启动项目
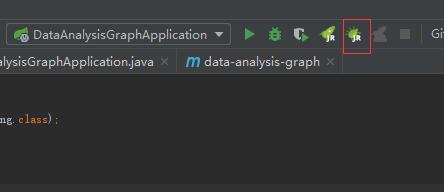
更改代码后,手动CTRL+F10就会更新代码,不需重启。
方式二
通过插件,具体没有尝试,参考以下文章:
- Intellij IDEA下Spring Boot热切换配置 ;
- SpringBoot项目在IntelliJ IDEA中实现热部署 ;
- Intellij Idea Spring Boot 热部署 ;
- IntelliJ IDEA 使用spring-boot-devtools热部署无效解决办法 ;

最新评论
没有磁力吗
不行,这个版本4K还是限速~
搞笑了,官网打不开的机场,检验倒数到0直接卡死了
都是ip6的,有ip4的吗?老电视不支持ip6